Last updated: Saturday 21st March 2015, 20:50 PT, AD
Java / JCreator - Installation and
Running Instructions
Skip to the JCreator
4.5 running instructions...
Note:
at the time of writing the latest version of Java is Java SE 7 JDK
from
oracle.com. This document refers to the installation of a previous version:
Java(TM) SE
Development Kit 6 Update 26 from
java.sun.com.
The
installation method is similar for different versions.
In order to write, run and
understand Java programs,
you need a good textbook, the
(free) Java development kit (JDK)
with documentation, and a good Java
development environment
such as freeware JCreator.
Java/Documentation, JCreator
installation and usage
are explained in detail below...
Complete all 4 steps in order:
Step 2: Install
Java Documentation
Step 3: Install
JCreator LE ver 4.50 or 3.50
Step 4: Run
JCreator LE ver 4.5
(Step 4: Run JCreator LE ver 3.5)
Step 1: Install Java
Before you can type in and run a
Java program
you must first download and install
the Java Development Kit
onto your computer...
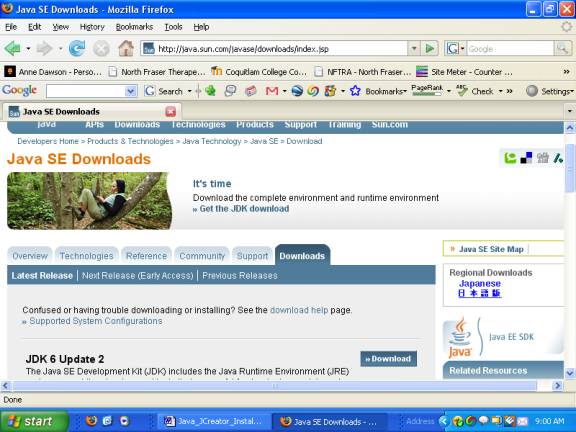
Go to:
http://java.sun.com/javase/downloads/index.jsp
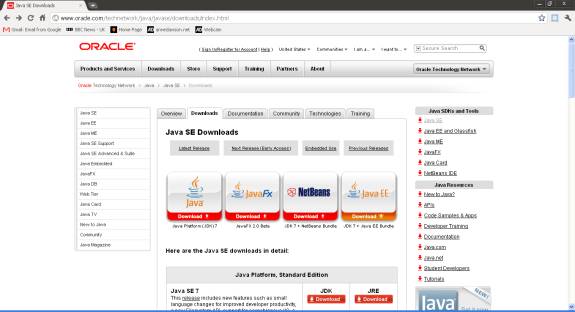
NOTE:
You will be redirected from the old page below,
to the
new download page at Oracle.com.
The java download page has moved
from java.sun.com
to oracle.com...
On the Java SE Downloads page, scroll down to see:
JDK 6 Update 7
Further down on the same page you
will see:
Java SE 6
Documentation
You need to download both of these
files
JDK 6 Update
7 Download (Click this
button)
PLEASE NOTE THAT THE FOLLOWING SCREENS SHOW JDK 6 Update 2,
- THE FILE NAMES WILL BE SLIGHTLY DIFFERENT FOR LATER UPDATES...
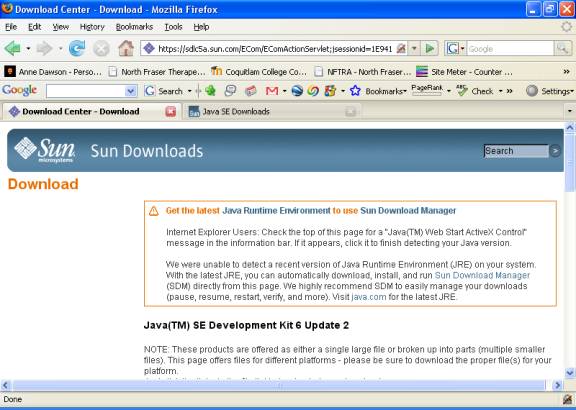
Scroll down ...
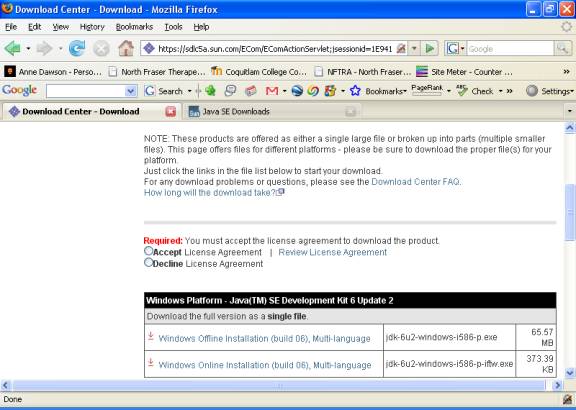
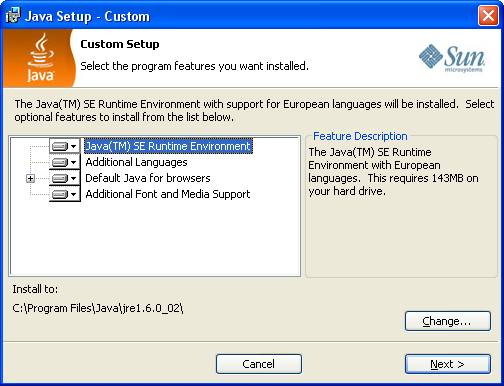
In the Required: section, click in the circle
to Accept License Agreement
then, if you're using a Windows
operating system,
click in the box to select the first
file in the list,
then click on the orange download
button
to download the file to your
computer.
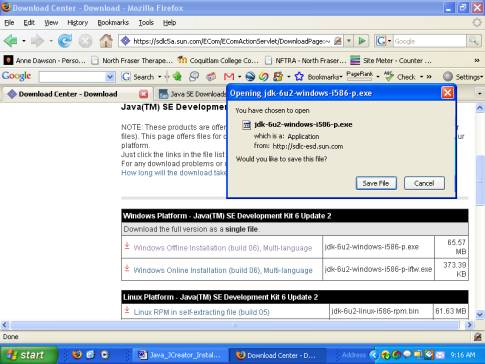
Click on the Save File t button to download the file...
Click to Open the file.
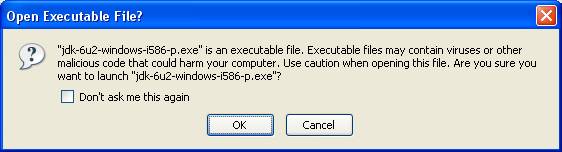
Click on the OK t button...
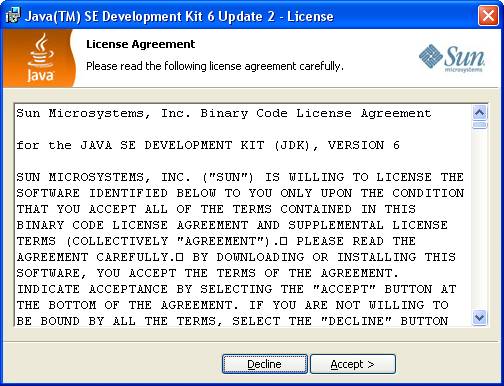
Click on the Accept
> t button...
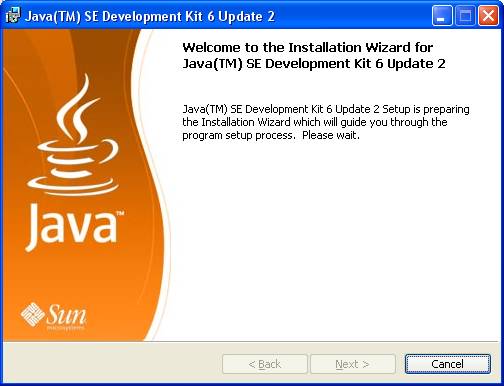
Click on the Next
> t button...
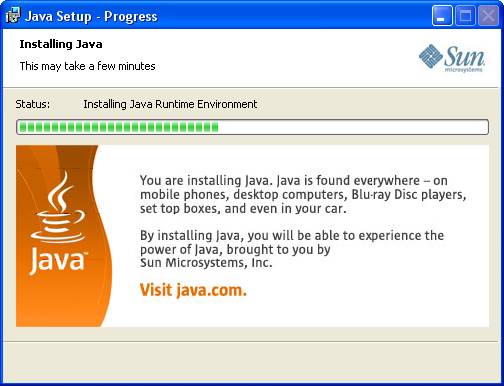
wait ...
wait ...
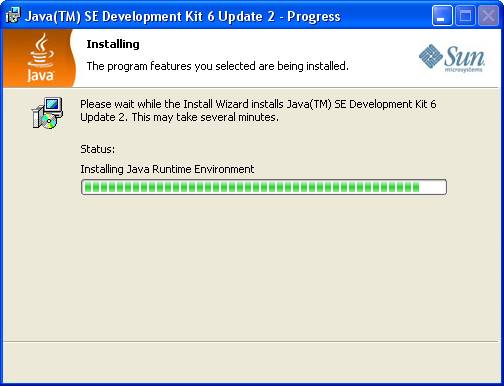
wait ...
wait ...
Click on the Next
> t button...
wait ...
wait ...
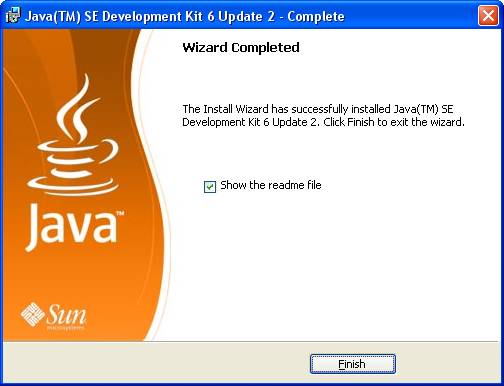
Click on the Finish t button...
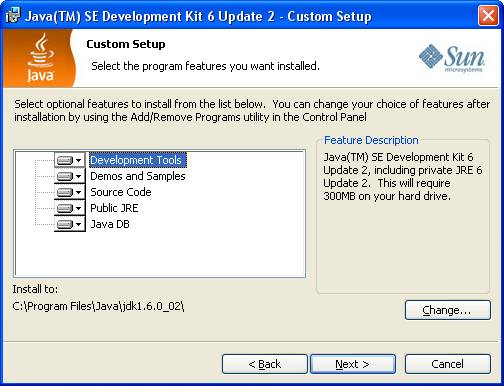
IMPORTANT:
Make a note of the folder where
Java is installed.
If you didn't specify anything
different in the Java installation,
the default path is:
C:\Program
Files\Java\jdk1.6.0_02\
Many thanks to...
CMPT 125
D3/CMPT 126 D1 -
Introduction to
Computer Science and Programming (II)
Summer 2007, SFU Burnaby
Instructor: Diana Cukierman
for the following:
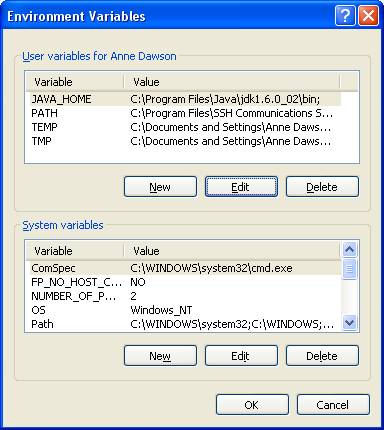
"In Windows, you have to modify your command search path before
you'll be able to run things properly. [One might think the installer would do
this. One would be wrong.] Right-click the “My Computer” icon and select
Properties → Advanced → Environment Variables. From “System variables”, edit
“Path”. To the start of its value, add: (notice the semicolon between
that and the next entry)
C:\Program Files\Java\jdk1.5.0_03\bin;
(You may have to adjust slightly for the version of the JDK
that you have.)"
If you're running Windows XP and you
followed these installation instructions to the letter, then the default path
is:
C:\Program
Files\Java\jdk1.6.0_02\
and you should set the environment
variable search path to:
C:\Program
Files\Java\jdk1.6.0_02\bin;
Java
Documentation
Java comes
with extensive documentation,
which is
an essential tool for programmers.
It has to
be downloaded separately,
but once
downloaded, it will automatically
link to
your development environment
so that
you can quickly and easily get online help
on the
Java language.
And for more experienced programmers
there are also very detailed reference documents here.
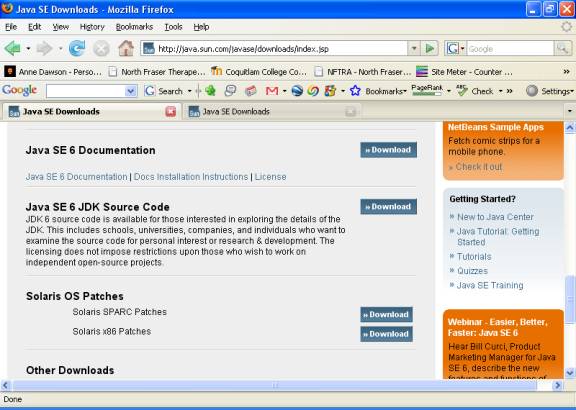
Step 2: Install the Java Documentation
Go to:
http://java.sun.com/javase/downloads/index.jsp

On the Java SE Downloads page, scroll down to see:
Java SE 6
Documentation Download
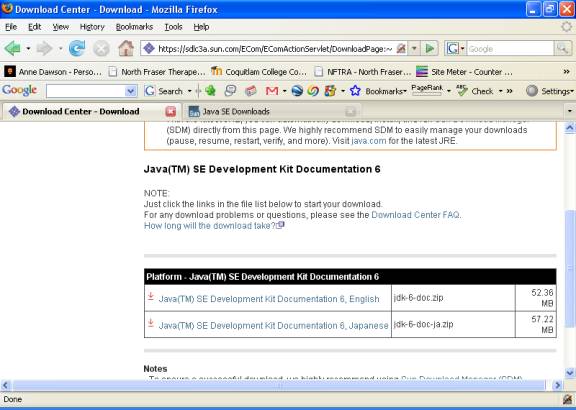
Click on the Download button.
In the Required: section, click in the circle
to Accept License Agreement
then, if you're using English
documentation,
click the first file in the list,
to download the file to your
computer.
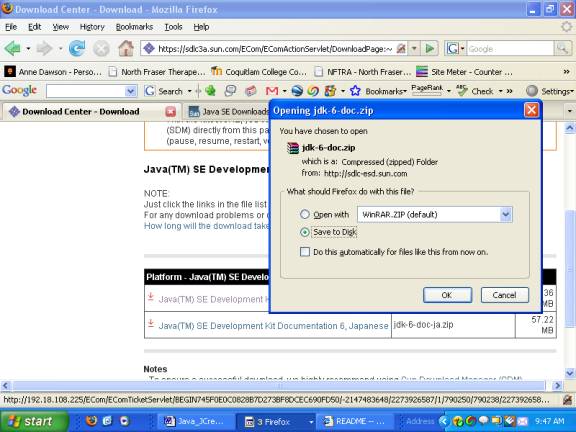
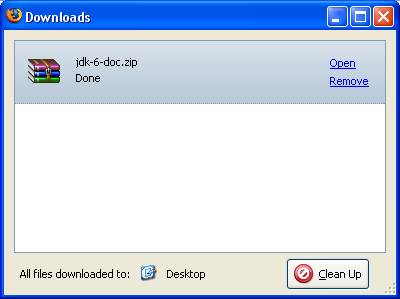
Click to Open the file.
IMPORTANT:
Extract the docs folder from the zip
file,
to the Java installation folder,
which by default is:
C:\Program
Files\Java\jdk1.6.0_02\
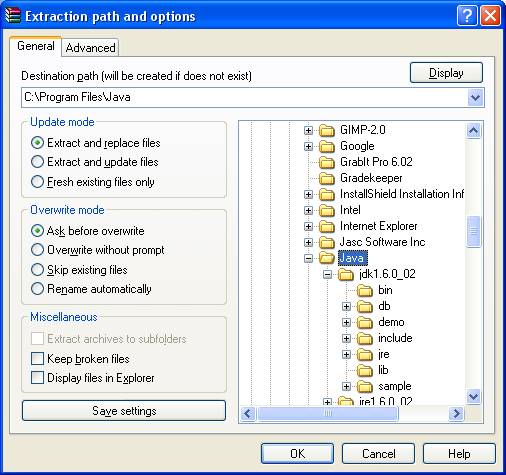
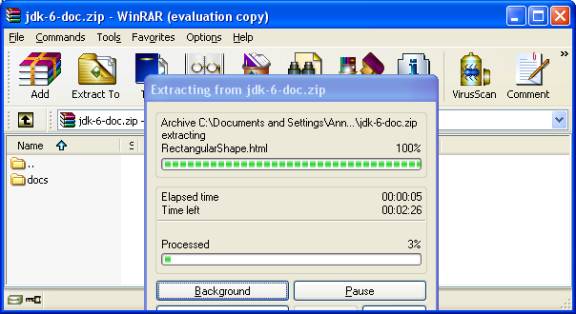
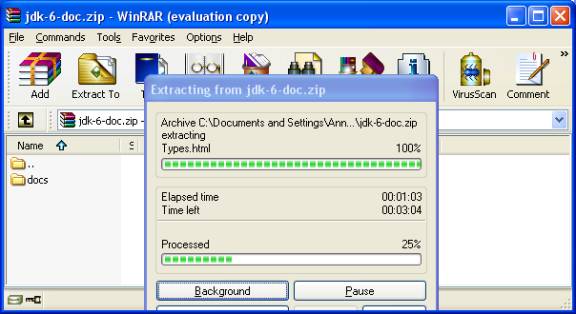
It will take a few minutes to extract
the documents to the docs folder.
Contents of the Java folder:
C:\Program
Files\Java\jdk1.6.0_02\
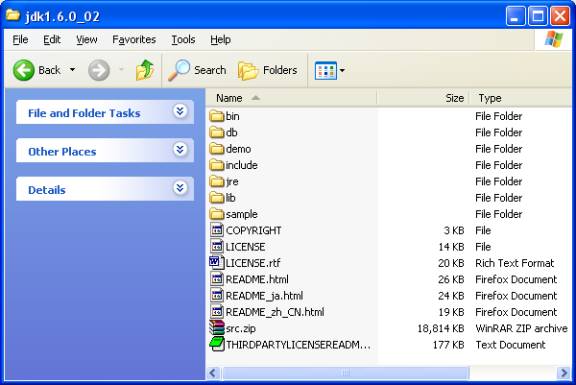
Contents of the Java folder with
docs:
C:\Program
Files\Java\jdk1.6.0_02\
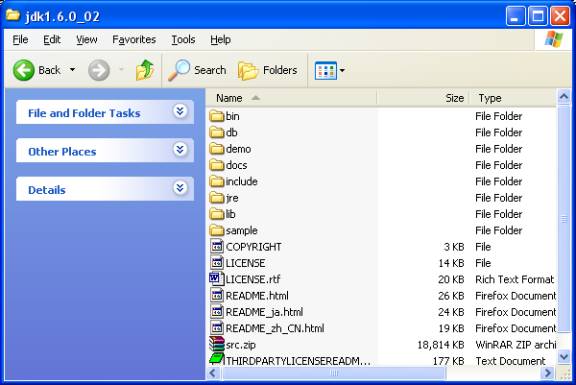
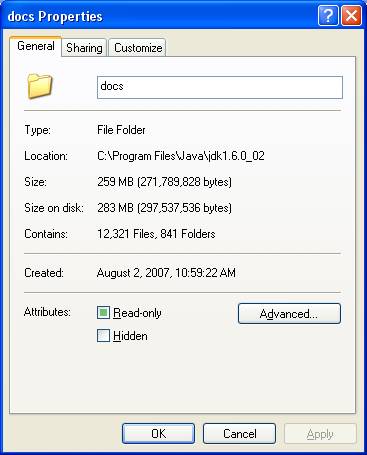
Note: there are approximately 12,000
document pages occupying approx 260 MB:
Step 3 - Installing JCreator LE version 4.50 ( or version 3.50)
Once Java and its documentation
is installed on your computer,
you then download and install the
free
Java development environment Jcreator,
so that you can type in, compile
and run your Java programs.
When JCreator first runs,
it will automatically detect your
Java JDK folder,
and you can set the documentation
path (see above).
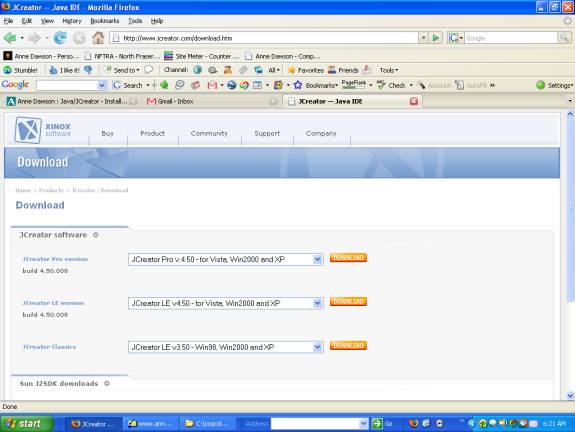
Click the following link to
download and install Jcreator.
Click to download the freeware
version of JCreator.
Follow the friendly instructions.
For the latest Light Edition
version,
click on the second DOWNLOAD button in the screen below...
The remaining instructions are for
JCreator LE v4.50,
but can equally be used for JCreator
LE v3.50...
Click on the second DOWNLOAD button in the screen above...
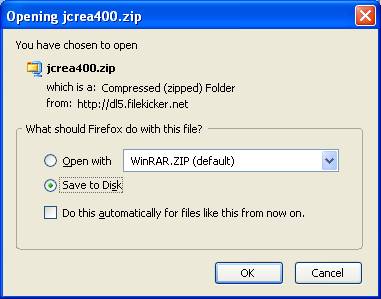
Click on the OK t button...
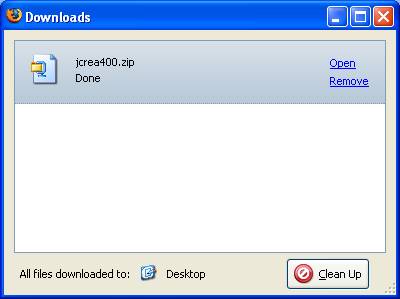
Click on Open
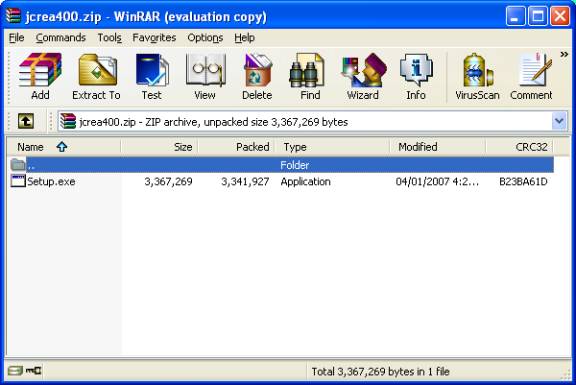
Double click on Setup.exe

Click on the Next
> t button...
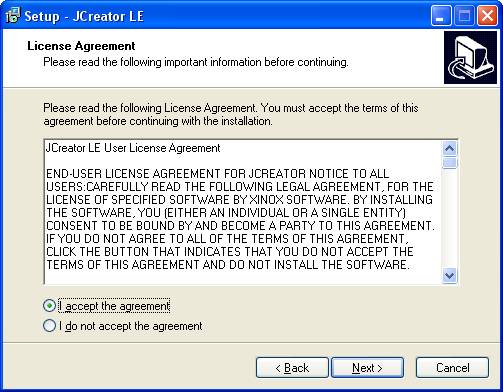
Click in the circle to accept the
agreement.
Click on the Next
> t button...
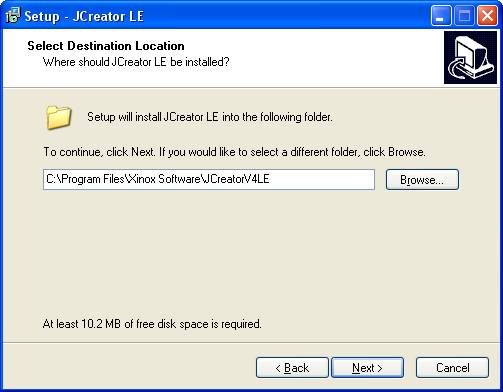
Click on the Next
> t button...
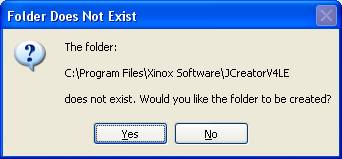
Click on the Yes t button...
Click on the Next
> t button...
Click on the Next
> t button...
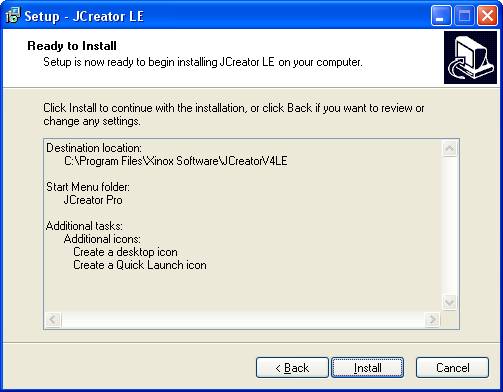
Click on the Install t button...
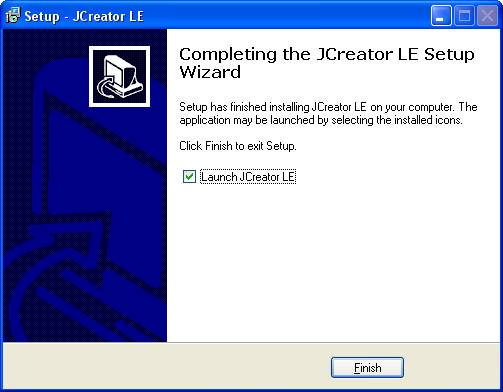
Click on the Finish t button...
Click on the Next
> t button...
Click on the Next
> t button...

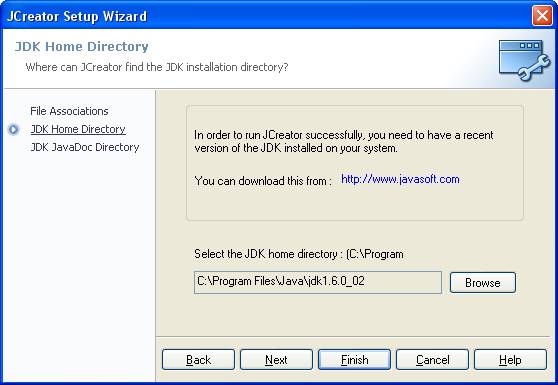
If you installed Java and the Java Documentation
as described in Step 1 above,
JCreator will automatically
find the path to the installed Java
compiler and its documentation.
Click on the Finish t button...
to complete the JCreator
installation,
and launch JCreator....
Step 4 - Running Java programs on JCreator 4.5
Launch JCreator...

Click on the Close t button to continue...
The window below shows the Start Page for JCreator...
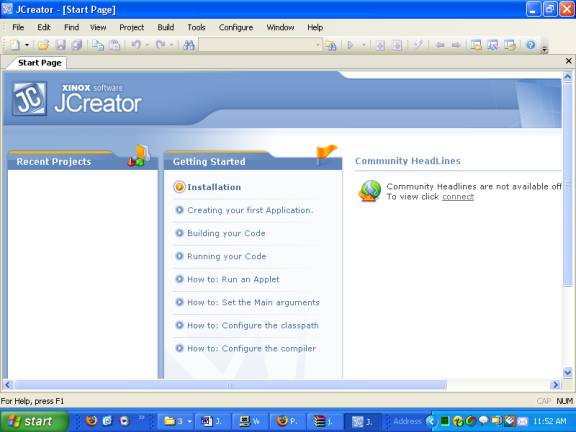
The window above shows the Start Page for JCreator.
The Start Page includes
instructions for installation and operation
of the JCreator program. You can
refer to the Start Page at any time.
To test that JCreator and Java are
set up correctly,
follow these simple instructions:
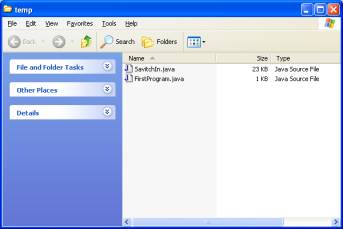
Use a folder called C:\temp to save
your files.
Save this file as FirstProgram.java in C:\temp
Save this file as SavitchIn.java in C:\temp
Start JCreator
If you see the Tip of the Day
window, close it.
Click on File -> Open
to open both files in C:\temp
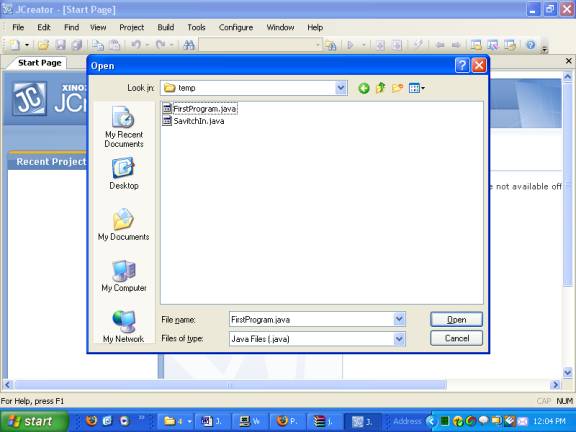
You should then see the following
screen:

Click on the tab for FirstProgram.java to make it the active file,
then click on Build -> Build File
You will see the following message
in the Build Output window if the Java source code compiled to object code successfully.
--------------------Configuration:
<Default>--------------------
Process completed.
Click on the tab for SavitchIn.java to make it the active file,
then click on Build -> Build File
You will see the following message
in the Build Output window if the Java source code compiled to (executable) object code
successfully.
--------------------Configuration:
<Default>--------------------
Process completed.
If you do not see the message above
when you compile a .java file,
this means that you have an error
somewhere in your program.
Read the error message, go back to
your source code and find
and correct (debug) the error/s.
Use Build -> Build File repeatedly until
you get the message:
--------------------Configuration:
<Default>--------------------
Process completed.
Once you see the message above for
both program files:
FirstProgram.java and SavitchIn.java, proceed as follows:
To run the example program:
Click on the FirstProgram.java tab to ensure that this is the active file.
Click on Run -> Run File
--------------------Configuration:
<Default>--------------------
Hello out there.
Want to talk some more?
Answer y for yes and n for no.
If you see the General Output window above,
with the same text, you have
successfully loaded
both Java and JCreator,
and both are running correctly.
If you need more help using
JCreator,
when running JCreator click key F1,
Getting Help
Use the Help menu!
You can access the JCreator Manual by menu selection:
Version 4.50:
Help -> Intro
(or by pressing F1)
Version 3.50:
Help -> Help Contents
(or by pressing F1)
You can access the JDK Help by menu selection:
Help -> JDK Help (or by pressing keys Ctrl and F1 together)
Step 4 - Running Java programs on JCreator 3.5
JCreator LE version 3.5 User
Manual